What are the pros and cons of tubeless tyres?
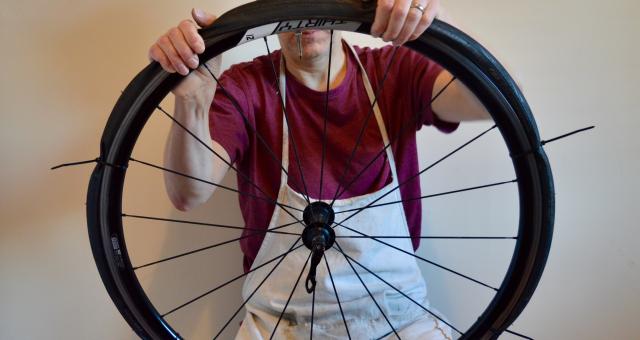
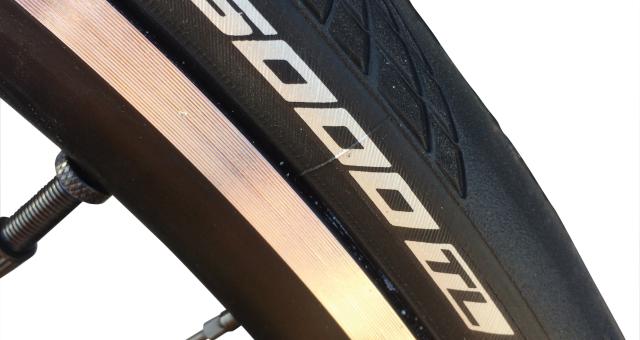
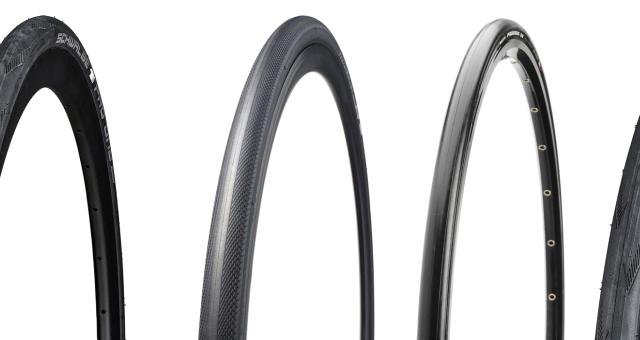
Tubeless tyres look like normal tyres: U-shape in section, with wire or synthetic ‘beads’ embedded at the edges. When the tyre is inflated, air pressure forces the beads up to the lipped edges of the wheel rim, holding the tyre in place.
As the name suggests, tubeless tyres dispense with the inner tube. The tyre itself forms an airtight seal with the rim.
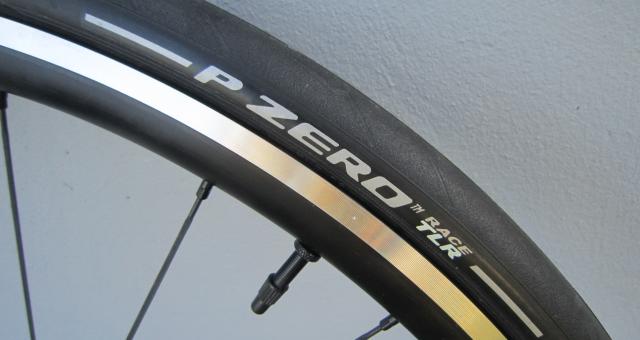
A tubeless rim ‘locks’ the tyre beads in place; the fit between tyre and rim is tight by design. (As it’s harder to remove the tyre, it’s thus a bad idea to run a tyre with a tube on a tubeless rim.)
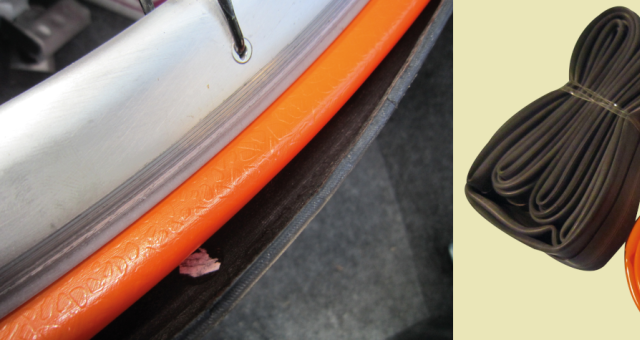
A tubeless valve has a rubber plug at its base to seal the valve hole, and is held in place by its knurled nut. Some tubeless rims have no spoke holes, so air can’t escape there. Most do. You cover these with one or two wraps of tubeless rim tape, then put tubeless sealant in the tyre.
Tubeless pros
- The tyres can be ridden at lower pressures, improving traction off road, without the risk of pinch punctures.
- Lower pressures mean improved comfort and rolling performance on rough surfaces (find out more about tyre pressure).
- Rolling resistance should be lower even on smooth surfaces.
- Since there’s no inner tube, there’s no friction between tyre and tube.
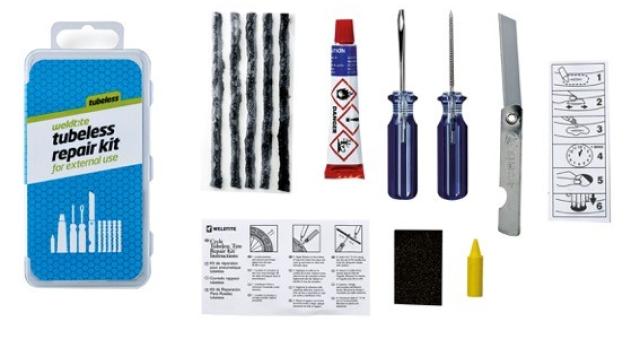
- Many punctures will self seal. Most punctures that don’t seal are easy to fix with a tyre plug.
Tubeless cons
- More expensive. Tubeless tyres cost more, you may need new rims, and you will need more paraphernalia.
- Fitting is messier and more time consuming.
- Removal often requires good grip strength. If a tear or hole is too big for a tyre plug, you’ll still need a spare tube to get home.
- Air and sealant can escape (‘burping’) if the tyre bead comes away from the rim due to a sudden impact or extreme cornering force.
- Sealants that coagulate need topping up every six months.
- Valve cores clog up too.
Is tubeless for me?
It depends. You’re trading money and workshop time for an improvement in traction and rolling performance, and (usually) automatic puncture repair. This will most benefit cyclists who ride off road or those who prefer to use lighter weight, more fragile tyres on road. For touring or transport use, tougher conventional tyres with tubes are currently more practical.

