How Bikeability gave Isla confidence to ride

Learning to ride a bike is a childhood rite of passage. Many of us will remember the wobbles, tears and frustration, but also the joy and sense of independence when we could finally ride unaided, making it all worthwhile.
But as with every activity, some children take to cycling faster than others. My daughter, Isla, who is now nine, struggled with her confidence. Last year, just when we thought she was getting the hang of it, a nasty tumble left her with a scraped chin, a bruised ego and a real reluctance to try again.
My wife and I tried to encourage her back into the saddle, but it got to the stage where even mentioning the word “bike” would lead to conflict. For me, a keen mountain biker who had recently started working for the national cycling charity, this was awkward. I wanted to get Isla riding, but I knew that piling on too much pressure would risk putting her off altogether.
It got to the stage where even mentioning the word 'bike' would lead to conflict
Rob Kingston, communications and media officer, Cycling UK
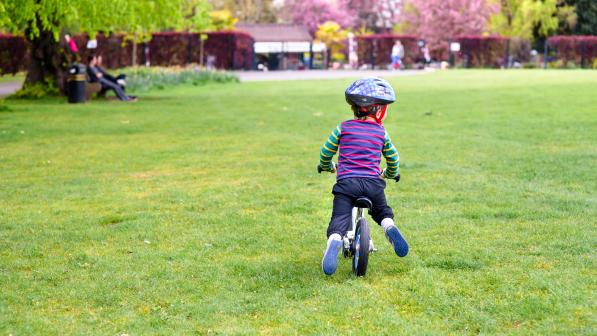
Instead, we went right back to basics. At the suggestion of a colleague, I took the pedals and cranks off her bike, converting it back to a balance bike. Isla’s younger brother got a balance bike for his third birthday in the summer, so we suggested to her that she could show him how to do it. This worked to some extent, and within a few weeks the pedals were back on, but Isla still lacked confidence to begin 'proper riding'.
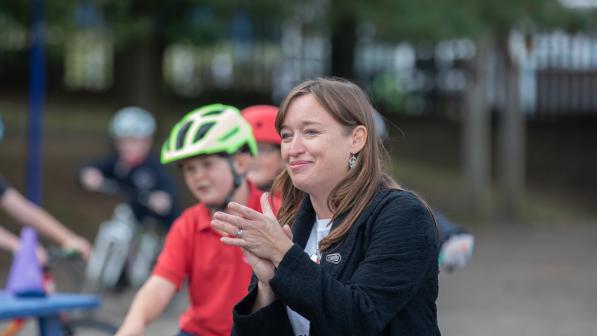
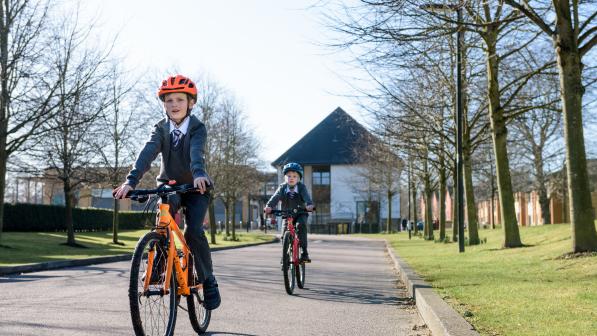
Help arrived in the form of Bikeability, the government-funded scheme that offers cycle training in schools across the country. When a letter came home from Isla’s school inviting parents to sign their Year 5 children up for a week-long session, we were initially reluctant, as we knew many of her friends were already confident cyclists. However, the school reassured us that there were other complete beginners who would be given Level 1 training, while the more advanced group did Level 2, so we signed her up.
How did it go? Over to Isla:
“Most of my class could already ride bikes so they went into Level 2 and practised on the roads. I thought I might feel a bit left out as I wasn’t ready for that. There were only three of us doing Level 1 and the other two couldn’t really ride at all so in fact I was the best in the group! We did our lessons on the school playground so there were no cars to worry about."
Day 1
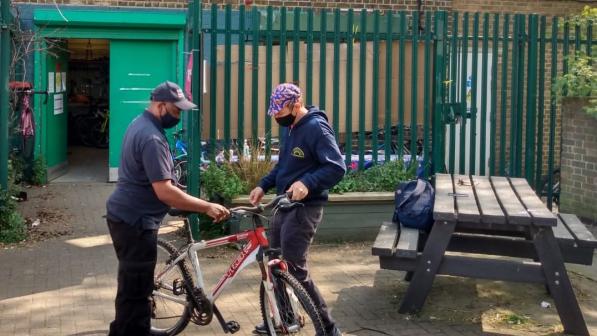
“The first thing the instructors did was check our bikes to make sure they were safe. Then we did a warm-up, just sitting on the bike without moving, and squeezing the brakes, then lifting our feet up to see how long we could balance for. Then we could show off a bit of what we could do on the bike, but the first lesson was quite short.”
Day 2
“They set up some cones in a very easy slalom to start with and then as we got better they would move the cones to make it harder. We had to push off, balance biking and then pedalling through the slalom. The others who were less confident than me were just balance biking.
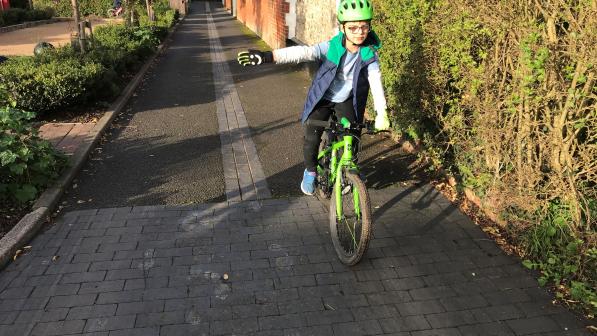
“Then we practised just lifting one hand off the bars for a second, then trying a bit longer and trying to do it for five seconds. At first we were just freewheeling while doing it.”
Day 3
“One of the instructors would hold up a certain amount of fingers and we had to start pedalling and look behind us and see how many fingers he was holding up. But we weren’t allowed to turn the handlebars while doing it, we had to keep going straight. They said it was so we could indicate with arm signals.”
Day 4
“We kept on practising what we had learnt. We tried to keep on pedalling while indicating for at least five seconds, and once you could do it you earned your badge – which I did!”
Day 5
“We watched a video about safety when cycling on the road, showing where to ride and indicate and so on.”

After Bikeability I feel much more confident and now I’m even off-roading!
Isla Kingston, age 9
After just one week of lessons the difference was amazing. The first weekend afterwards, we went to a local park and Isla was not only riding confidently along the paths but venturing up banks to avoid flooded areas – perhaps she has inherited some of the MTB gene after all? Within a couple of weeks she was riding with us on quiet roads to reach some bridleways across the common.
In her own words: “I was a bit scared to get back on the bike after I had a nasty crash, it still haunted me. But after Bikeability I feel much more confident and now I’m even off-roading!

How Bikeability can help your child
How do I find Bikeability training?
Many children will be offered the training through their school, usually in Year 5 or 6: the long-term goal is that it should be available to every child. While training had to be suspended while schools were closed due to coronavirus, the good news is that it is still going ahead during the second lockdown in England.
If your child’s school doesn’t already offer Bikeability training, talk to their teachers and encourage them to make contact with their local authority and request training. Point them towards the Tools for Schools section of the Bikeability website for information.
Training is also available through external providers: you can find your nearest one on the Bikeability website.
Does my child need to be able to ride a bike already?
The training is not designed for absolute beginners: Bikeability recommend that children should be able to ride without stabilisers before starting Level 1 training. However, don’t be afraid to discuss your child’s requirements with the provider. In my daughter’s case, they were able to accommodate novice cyclists in a small Level 1 group.
What does the training involve?
There are three levels of Bikeability:
Level 1 introduces cycle handling skills in a safe off-road environment such as a school playground. Skills involve checking that the bike is ready to ride, practising setting off and stopping, turning, riding one-handed, and looking behind.
Level 2 develops the skills for cycling safely and responsibly on single-lane roads and negotiating simple junctions. Riders learn to identify and respond to hazards, maintain suitable riding positions, comply with signals and road markings and share the road with other users.
Level 3 builds on this to give riders the skill and confidence to ride on busier, faster roads and complex junctions. This includes how to ride assertively, avoid blind spots, use multi-lane roads and infrastructure, and pass queues of traffic safely.
It is not necessary to have completed the previous level as long as the child can demonstrate that they have the skills to start Level 2 or Level 3, but the training has been designed to offer maximum benefit if they start at Level 1 at an early stage.
Bikeability Plus sessions are run in addition to the three levels of core training. Modules include Bikeability Balance (teaching essential skills on balance bikes), Bikeability Learn to Ride (for all ages, not just children), and Bikeability Fix (for adults and the wider school community to learn hands-on bike-repair skills). Find out more by watching the videos on the Bikeability Plus site.
How can I get involved?
By joining the Bikeability Club, you will receive newsletters with more information about Bikeability training, as well as useful hints and tips on riding together as a family, plus offers, promotions and other opportunities.
For greater involvement you could also become a local Ambassador, to help promote Bikeability, or consider a career as an instructor. Find out more on the Bikeability website.

