Video guide: How to repair a broken chain
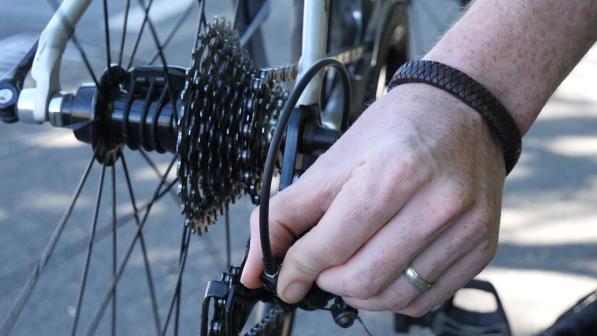
While it doesn’t happen often, your chain could break while you’re out on a ride. If this happens, it’s relatively easy to fix, if you’re prepared and have the right tools with you (photo 1).
Watch the video by clicking on the image above or read the instructions below.
What you need
- A quick link
- A chain breaker tool
- A pair of quick link pliers (ideally)

Step-by-step guide to repairing a broken chain
First, move your bike somewhere safe, out of the way of other road or trail users. You’ll need to locate and remove the broken chain link and replace it with a new one.
Lift the back of the bike and, using the pedal to back-pedal, move the chain so the damaged link is at the bottom. Locate the broken link (photo 2) and remove it using the chain tool. Place the broken link into the front of the chain tool (photo 3) and turn the chain remover until it pushes out the pin.


Ensure you have two inner links at each end of the chain (photo 4). Fit the quick link into each inner link and connect them together (photo 6).


If you have them, use the pliers to tension the new link (photo 7). Otherwise, again using the pedal, rotate the chain so the quick link is located at the top (photo 8). Then depress the rear brake and step on the pedal to apply pressure to the chain. Listen for a click as the quick link locks into place.


The Big Bike Revival, a national programme from Cycling UK, offers free, friendly cycling support in local communities. Whether you’ve never picked up a tyre pump or want to feel more confident maintaining your bike, these free basic bike maintenance courses—delivered by trusted local organisations—will help you build practical skills in a relaxed, supportive environment.


