What’s in your tool bag on tour?

Picture this, you’re on your first ever long ride. Say, 100km long. You think your legs can do it. And so can your bike. But then, 30km in, your mech hanger snaps. You’re now left to wonder what’s the best way to keep going.
While this sounds like one of those disasters that would never happen to you, on one of my first long (and solo) rides in the UK, this very thing happened at the furthest point from home. I didn’t even know what had snapped, and why my whole drivetrain looked like a mighty mess.
But when you’re sitting at the side of the road, at midnight, you know that you have to figure something out. So I decided to ask the Google gods. But, wait a minute, I didn’t even know what I was doing or what I had broken, so how did I know what to search for, I hear you ask.
Well, I just let my imagination run wild. I googled everything from “why does something on my drivetrain look broken” to “how to fix a broken chain” to “stuff that can break on your bike”.
It turned out to a terrible idea, with nothing useful learnt from of it.
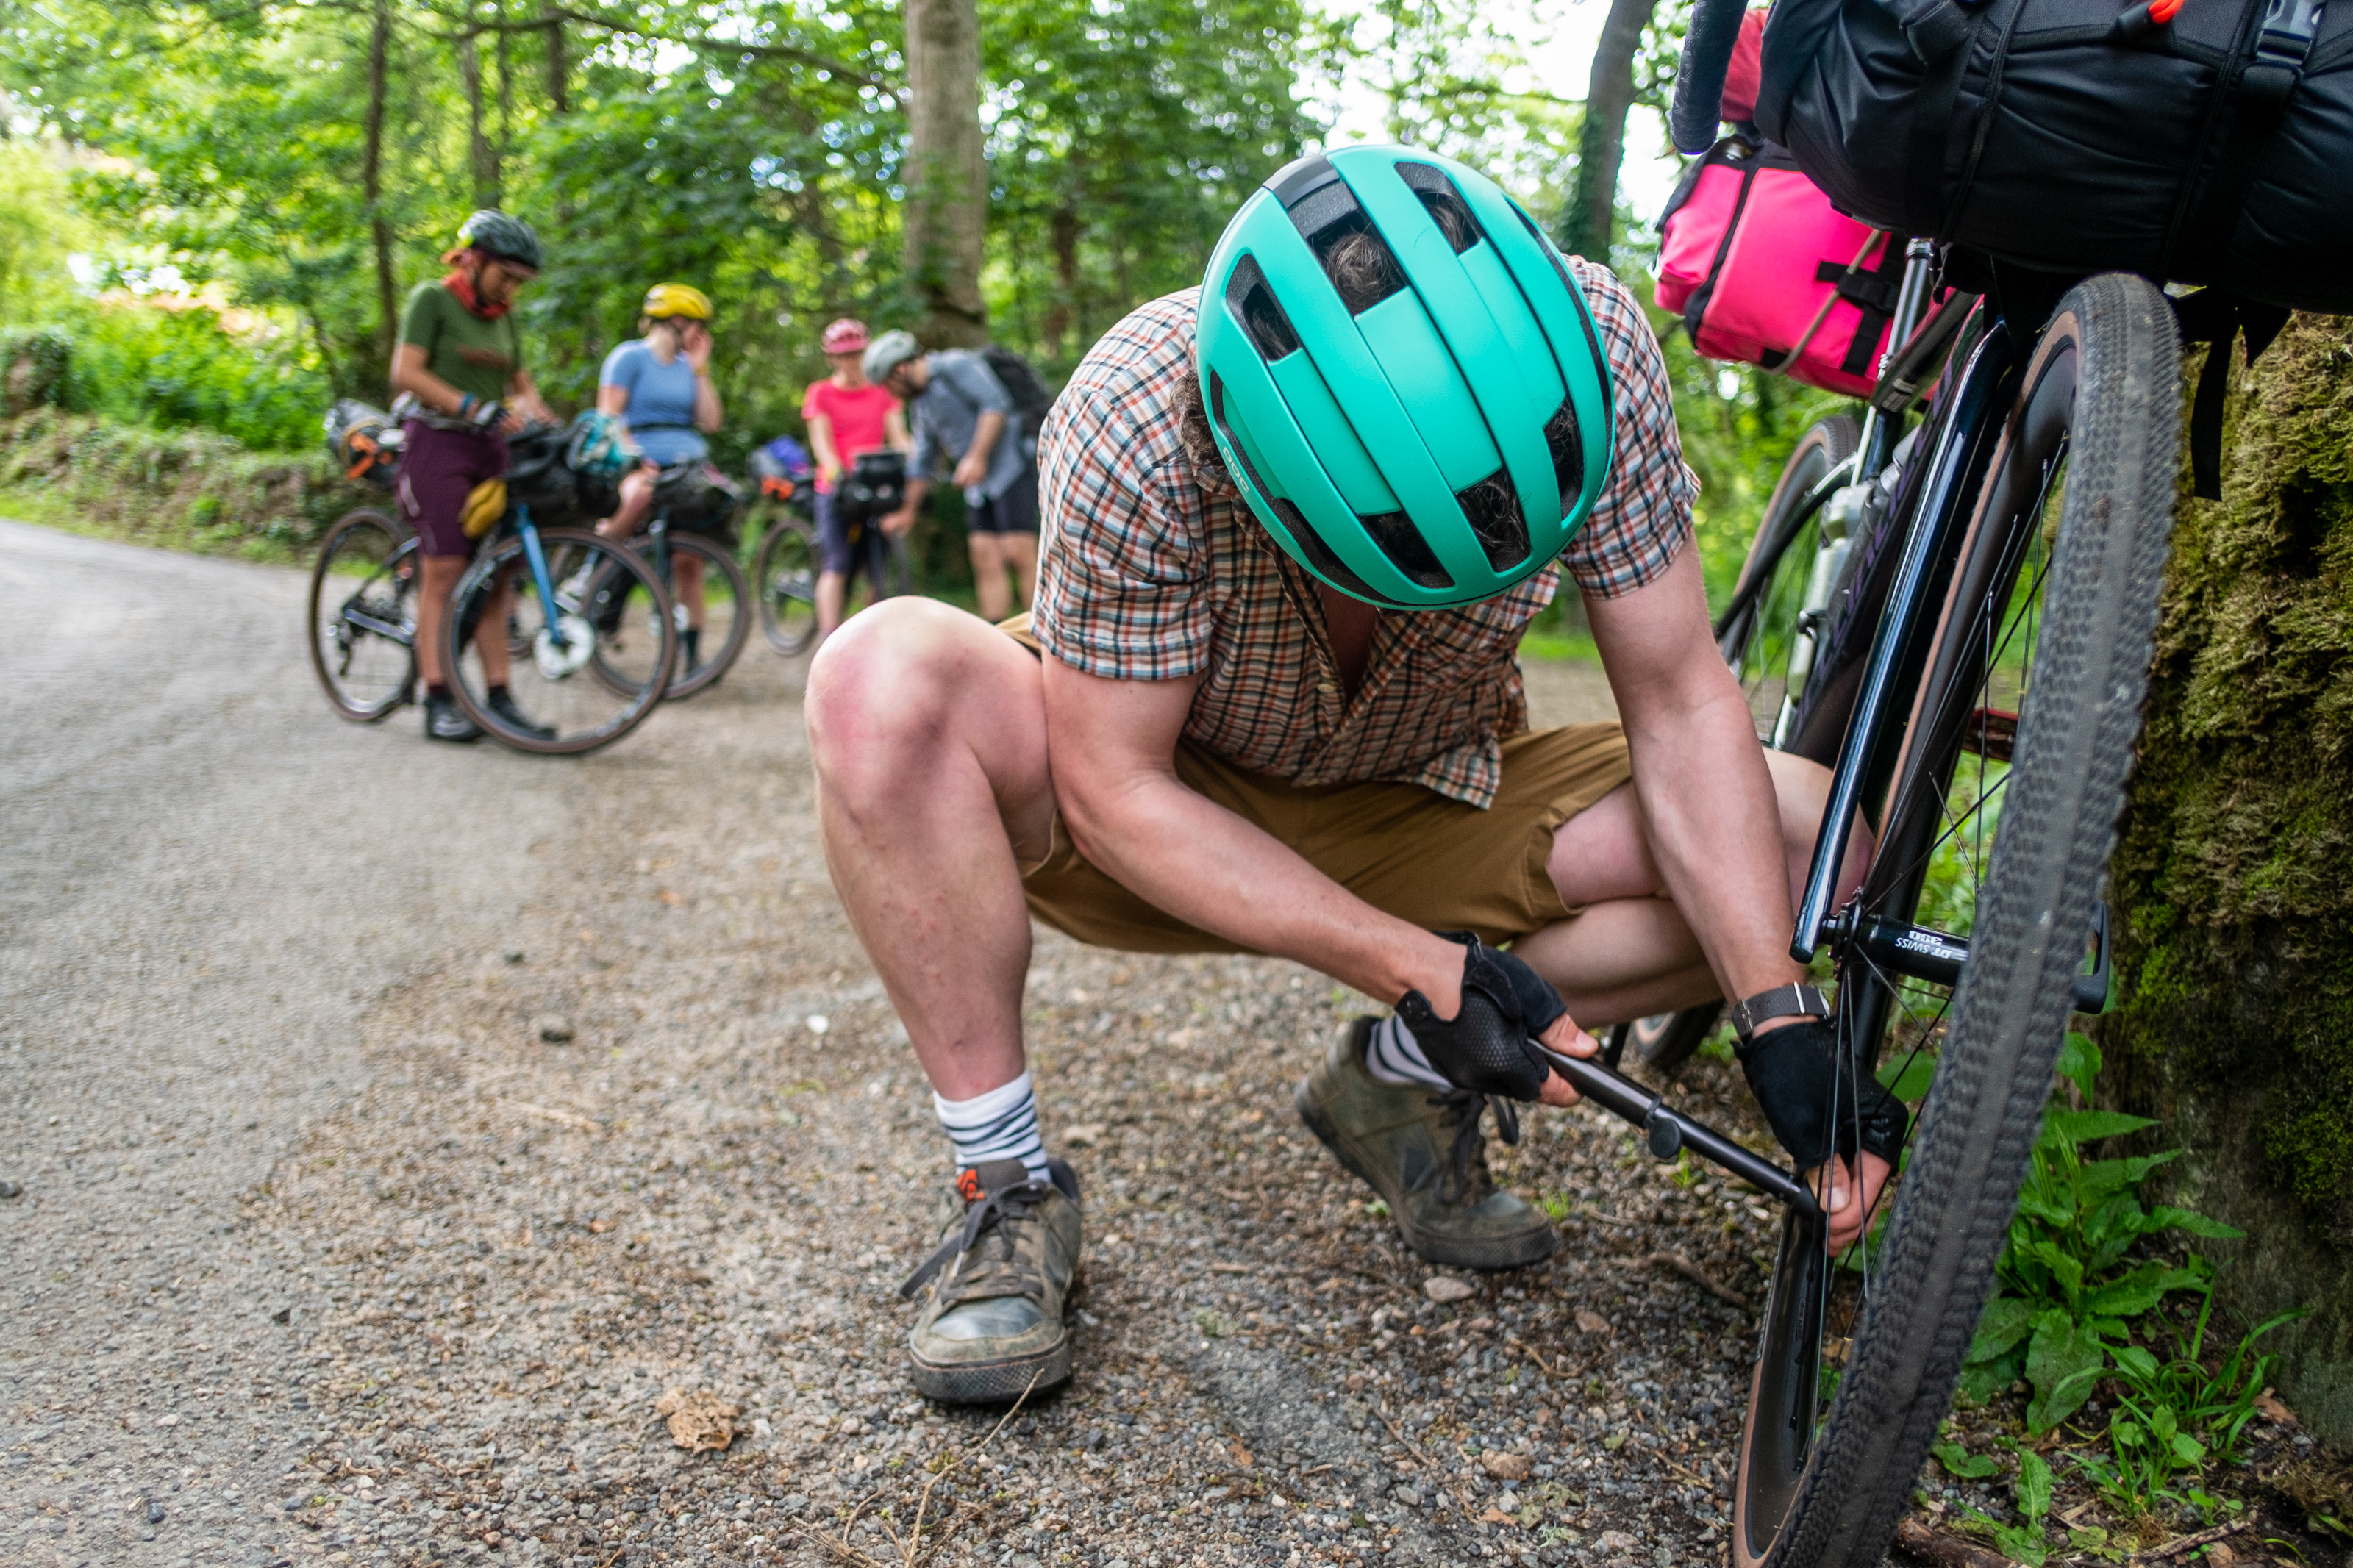
Eventually I got onto YouTube and saw GCN had posted a video about something that looked similar to my problem. I looked at what I had in my tool kit. I hadn’t had to use it since early 2016, so I had never bothered learning what was inside.
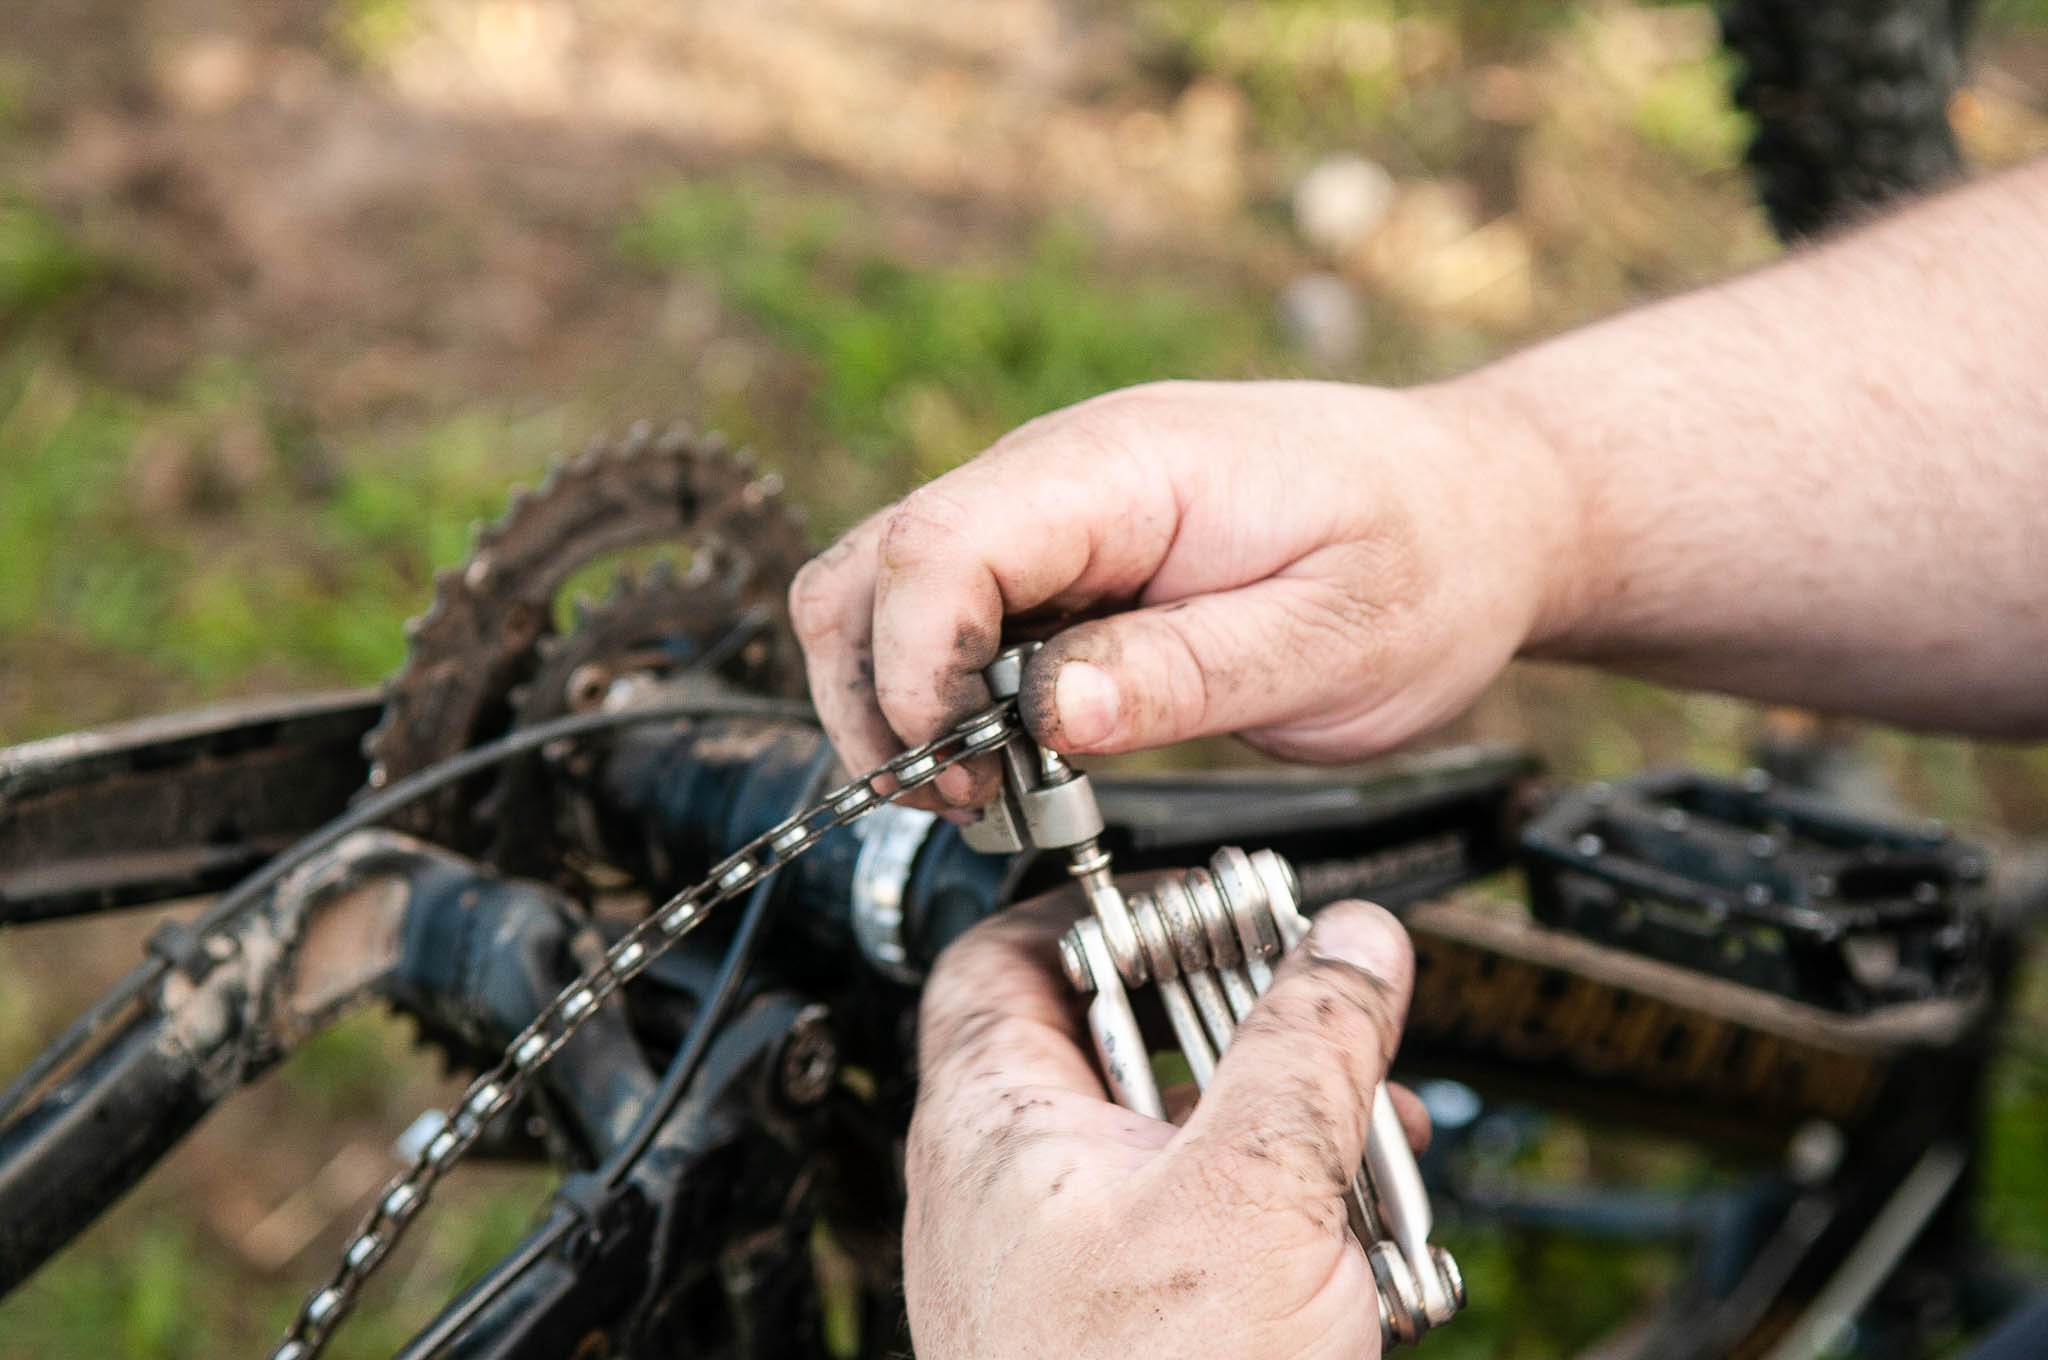
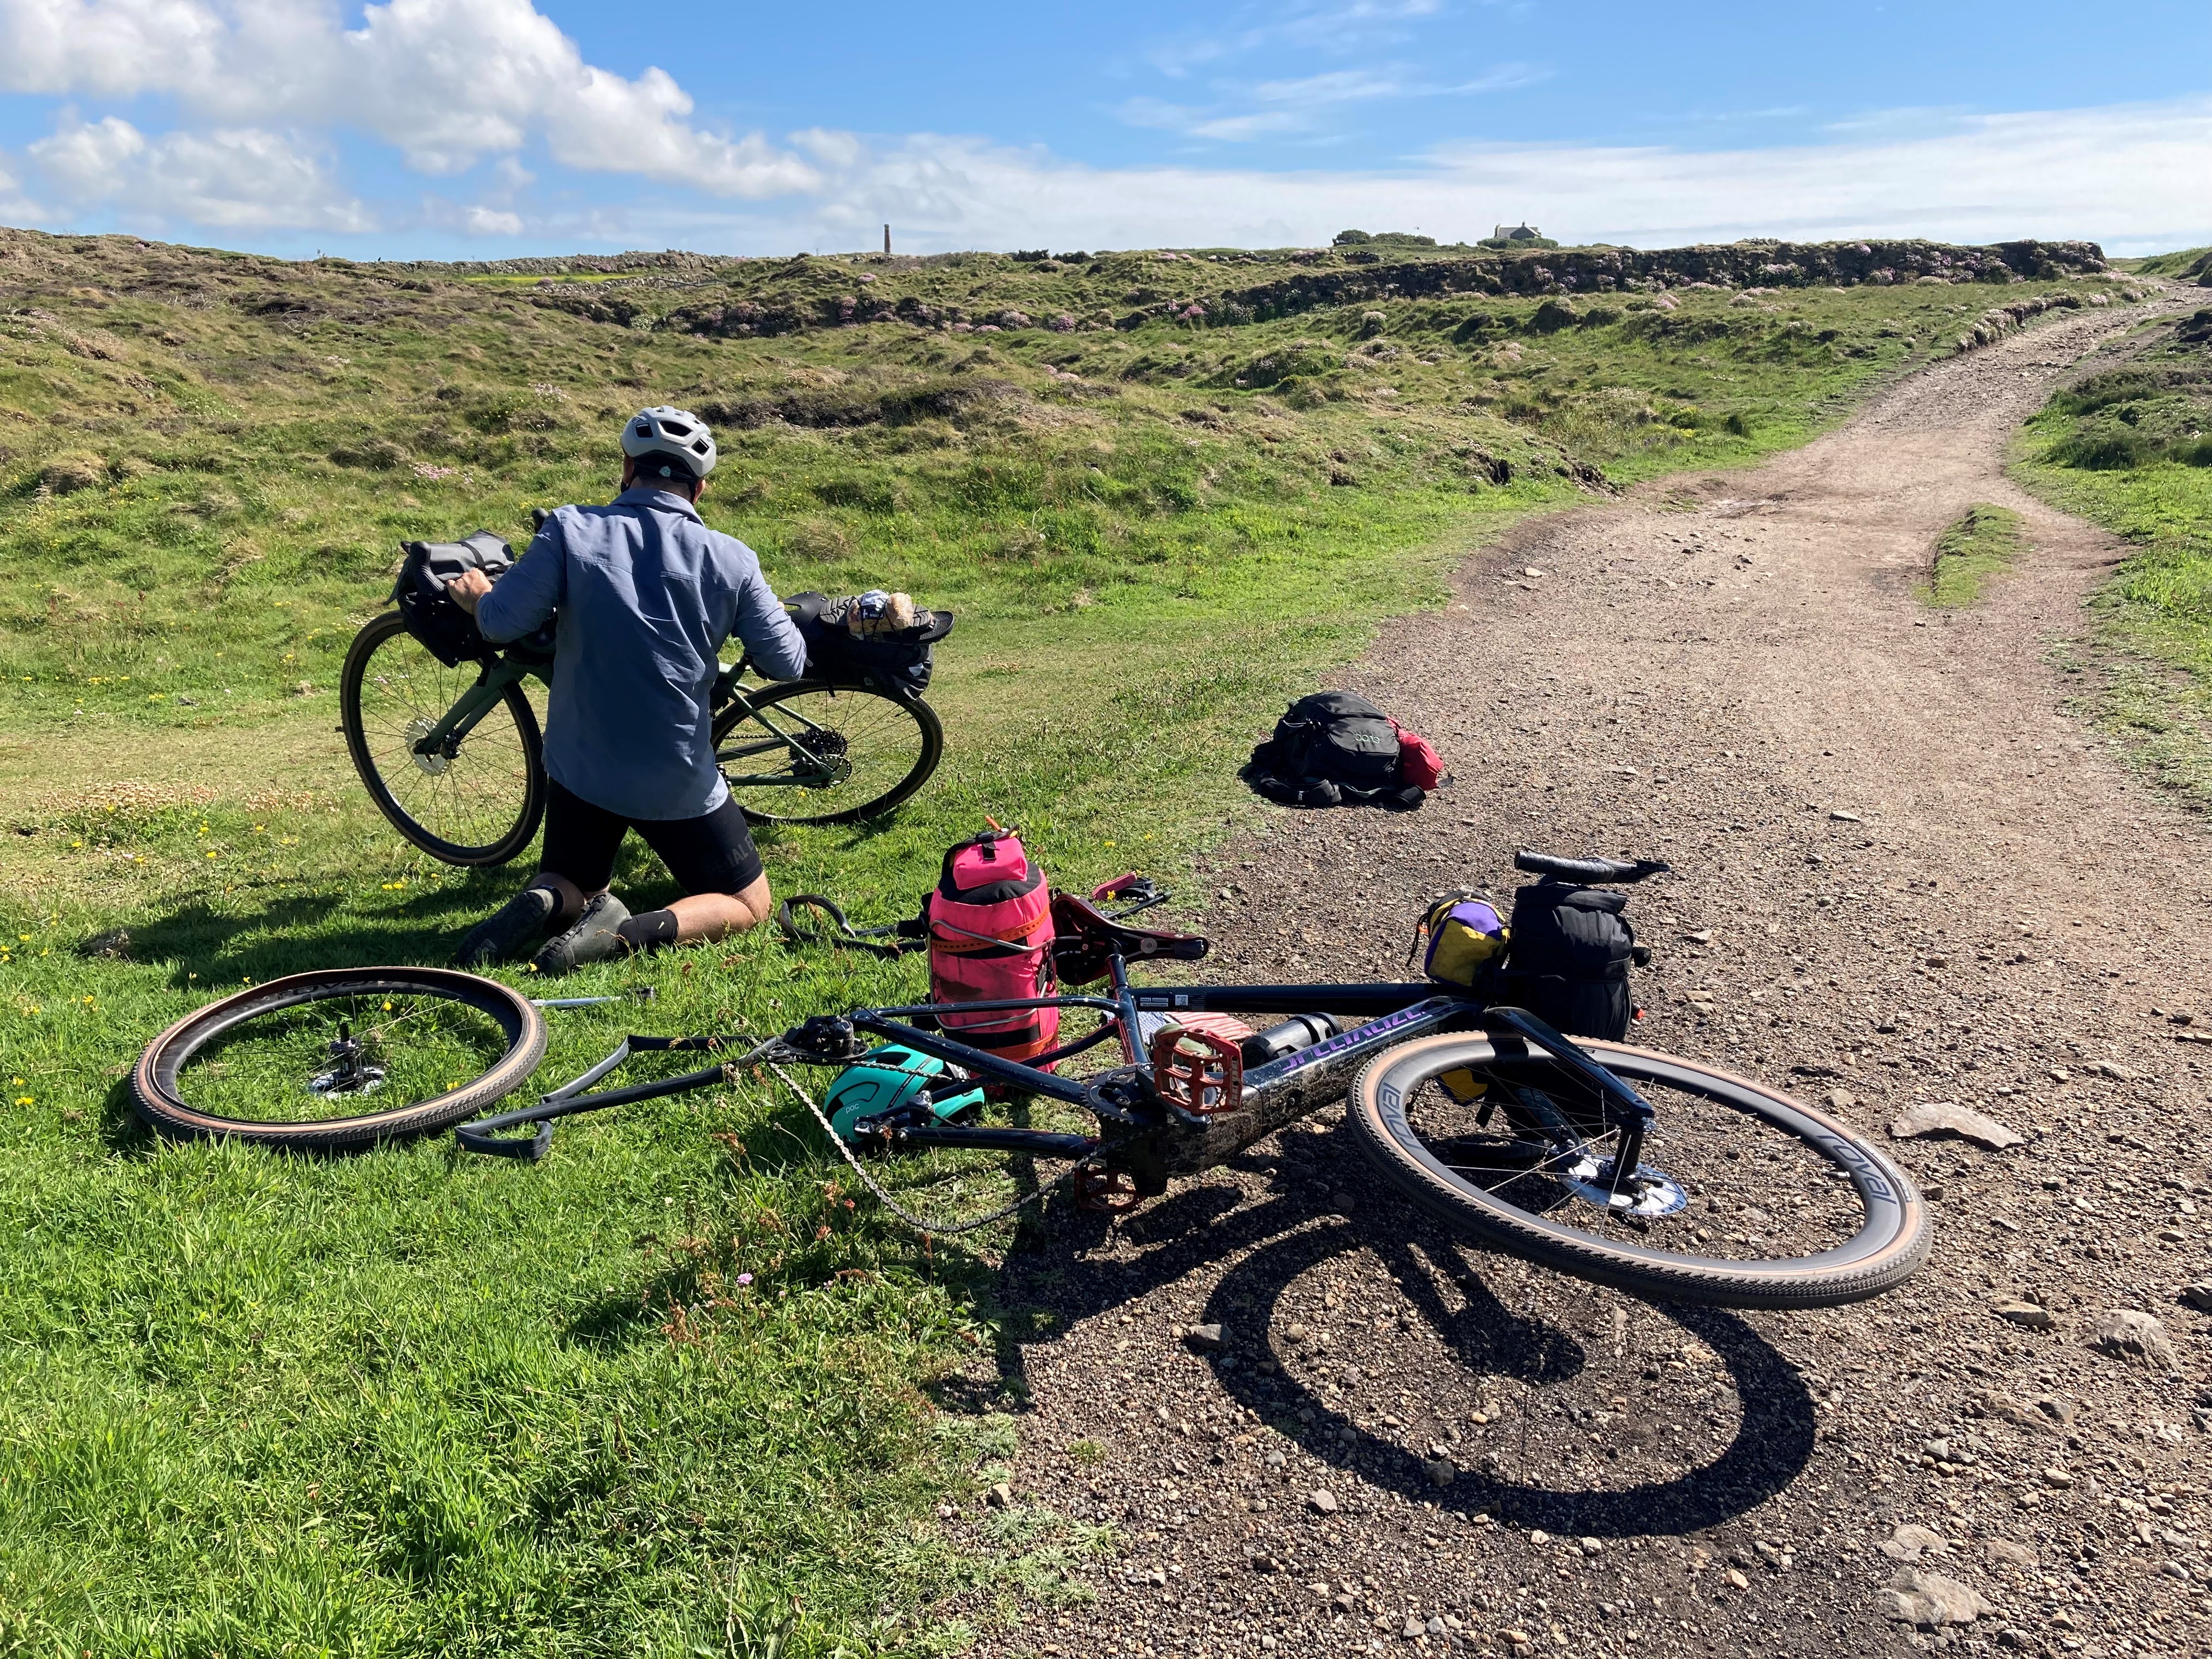
I had a multi-tool, a few spare chain links, a spare set of brake pads, a chain tool (that I had no idea what to do with), puncture repair kit, tyre levels and a spare inner tube.
I also happened to have a spare brake/gear cable. I had no idea why it was there or what to do with it, but there was a cable to do something with, should I need it.
That night, I spent three hours teaching myself how to run single speed with whatever was there in my tool kit. I went from not knowing anything about the items in that tool kit to actually having to use it. This brings me nicely onto the topic of tool kits.
First of all, what even is a tool kit?
In the most non-technical definition that you could ever find on the internet, a tool kit is all the stuff that you carry on your rides to fix a problem or ensure safety and efficiency. For example, multi-tool, puncture repair kit, hand-pump, and so on.
Over the years, what I count as a ‘tool’ has massively changed. It isn’t just about the bike fixing anymore. Below are a few examples of what I mean, which also do a good job at answering what’s in my tool bag.
First steps
We’re the best judges of what is and isn’t suitable for us. We are also the best judges of how much and where it is right to push ourselves a little bit further.
A little common sense can go a long way when it comes to heading outdoors. That, paired with listening to your intuition, makes for a happy adventurer.
What I mean is that riding right through a seemingly deep puddle in the dark when you haven’t ridden on that trail before is probably not wise. Similarly, knowing that your battery can die when you’re relying on your phone for directions and remembering to carry a battery bank is a smart idea.
Know your bike
Bikes are both the simplest and the most complicated machines that I’ve ever seen. Having the general understanding of what can go wrong in which parts always helps.
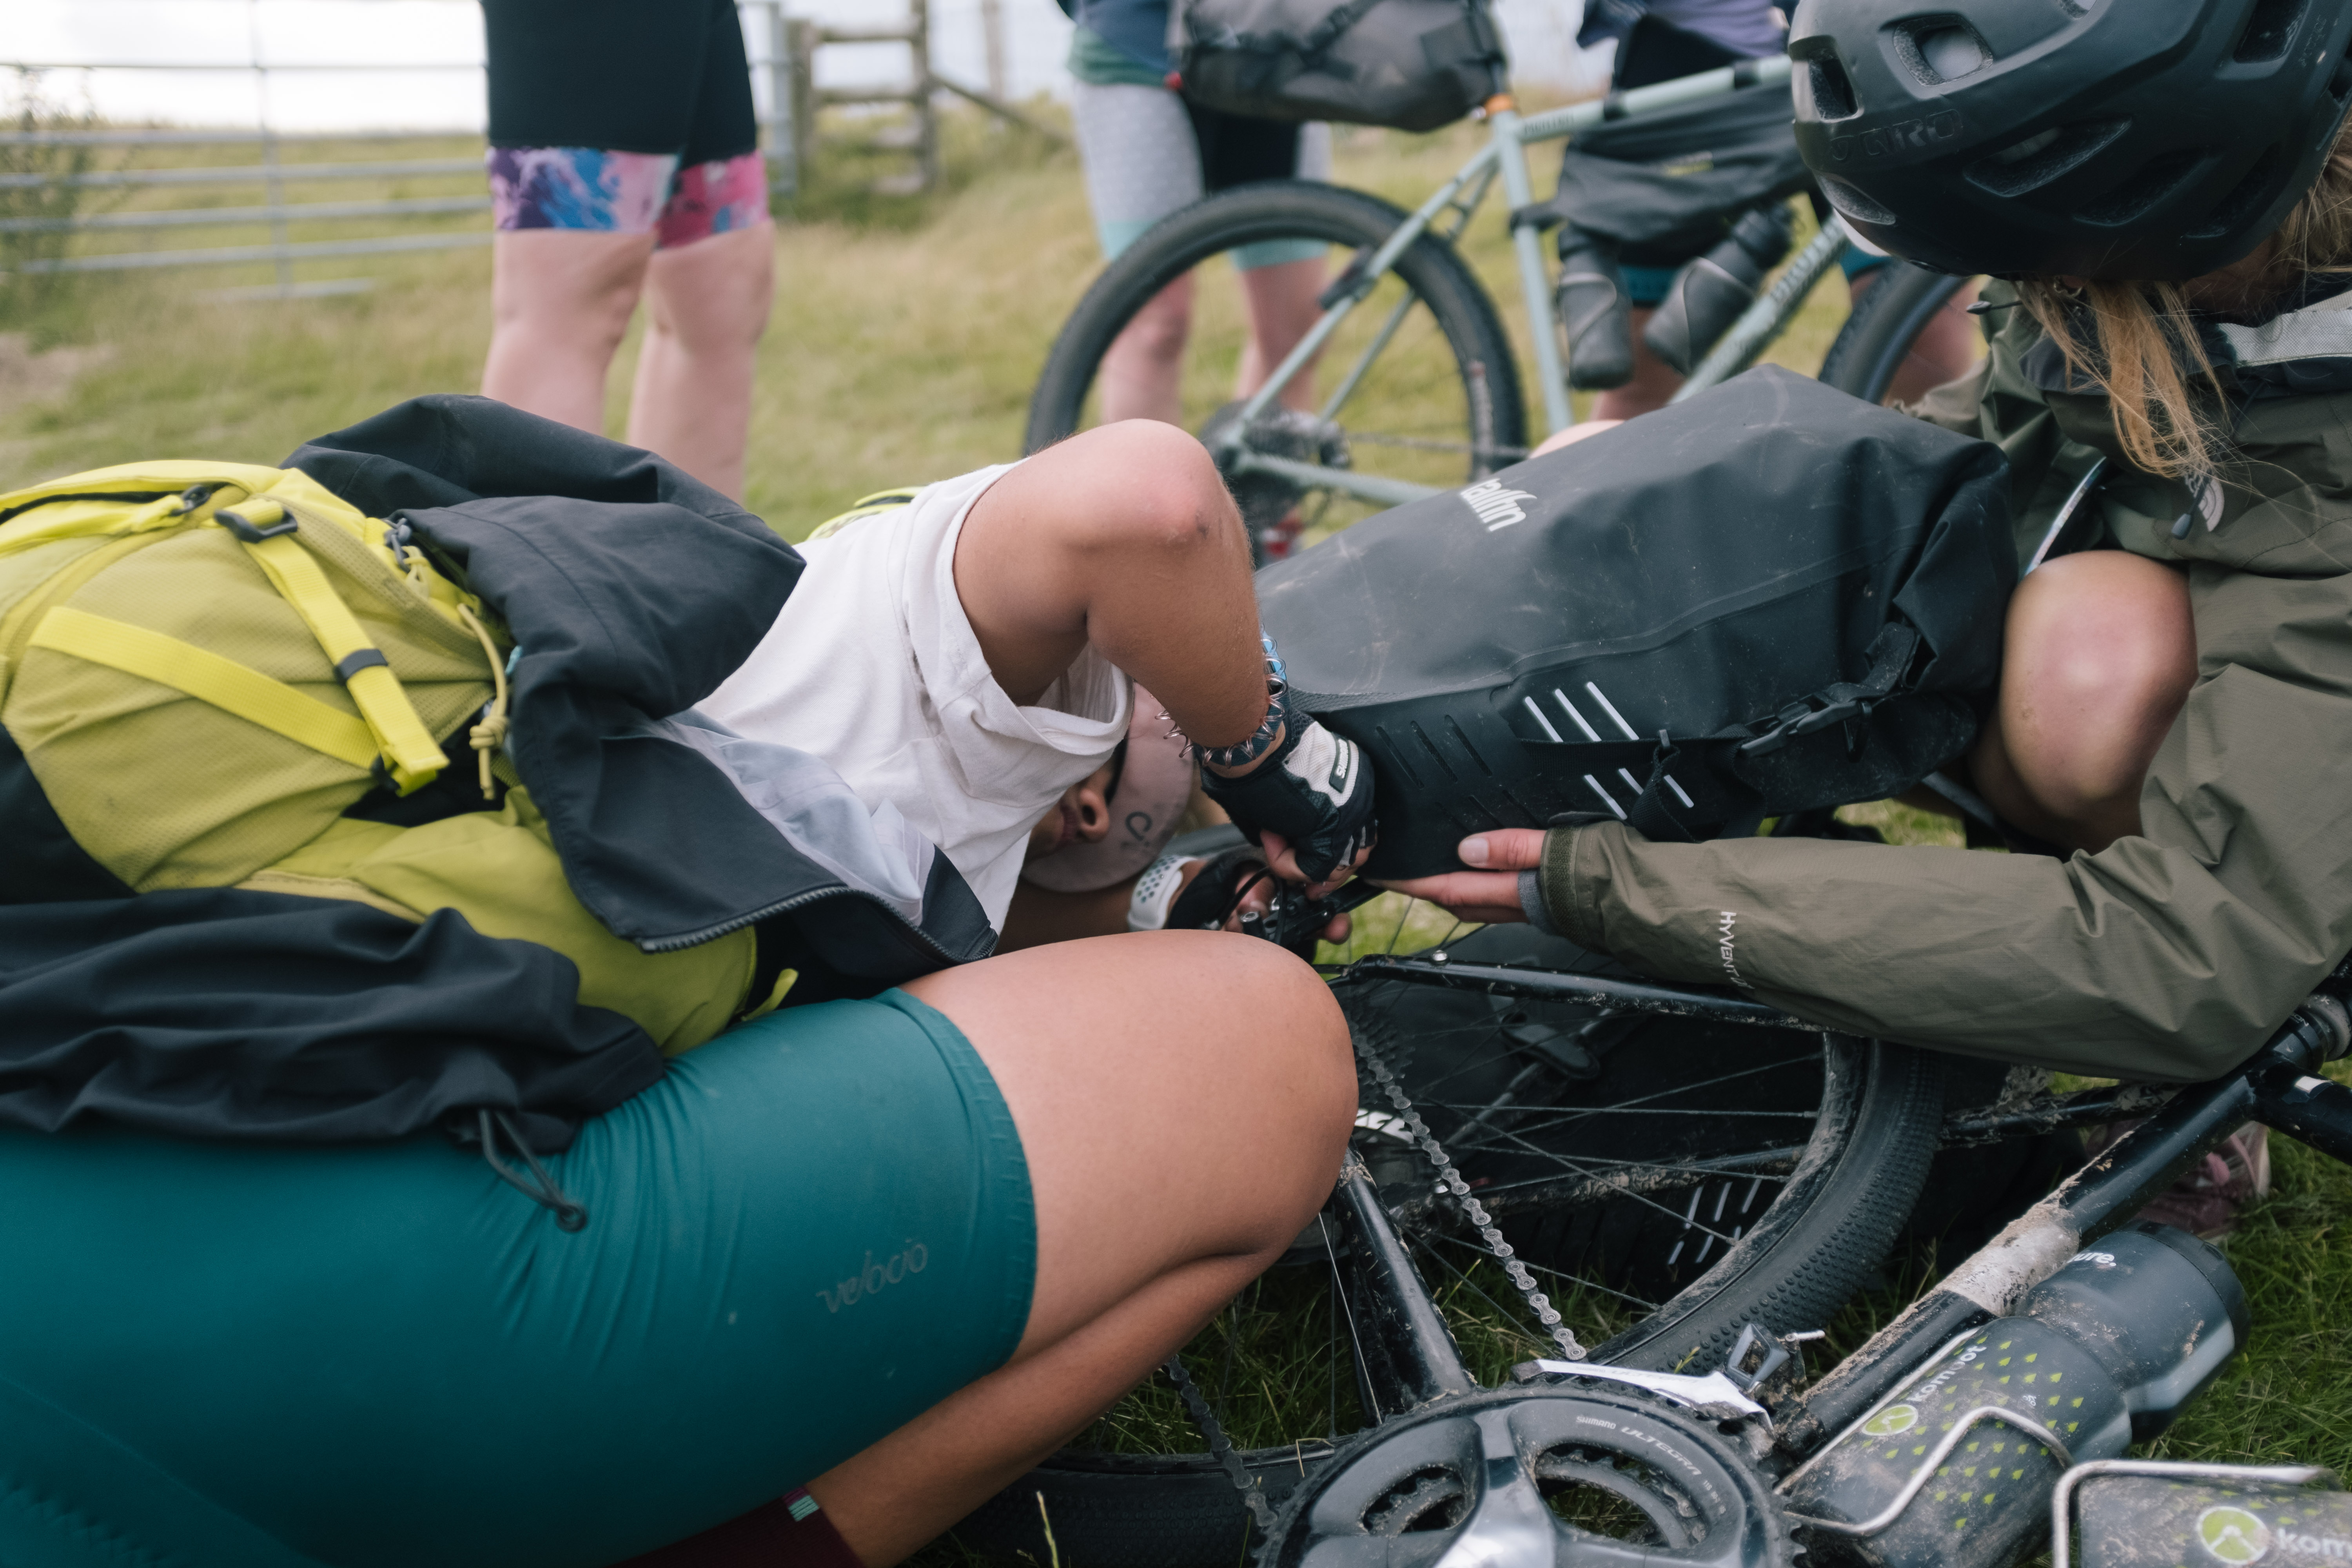
I find thinking about my bike in separate parts helps. I break it down into how it’s put together: wheelsets, frame, handlebars, brakes, drivetrain and seat post, and then think about what could go wrong out on the trail and how I could fix it or as the London Bike Kitchen would say ‘cry trying’.
- Wheels and tyres
Wheel rims can dent, or the wheel itself out of true/get buckled. Tyres can be set with or without tubes and puncture in different ways. - Frame
Frames get scratched, and may even bend or snap under some exceptionally horrible circumstances. The bottom bracket will eventually wear out and need replacing. - Handlebars
Handlebars are more than capable of snapping as well. The tape or grips won’t last forever and will need replacing many times over your handlebar’s lifespan. - Brakes
Brake pads will wear and could get contaminated. They may also need bleeding if hydraulic or the cable readjusted if not. - Drivetrain
The chain can snap. The gears may skip. The derailleur hanger can break. The pedals can be cross-threaded. The setting on the cleats might be on too tight or too loose. And while it takes exceptional circumstances for this to happen, the cranks can snap too. - Seat post
That tiny bolt holding your saddle in place can get lost if you don’t look after it. The quick release can give up the ghost, and stop holding your saddle in place – and who knows for what reason it might do that?
The above is not an exhaustive list of what could go wrong, and while it may sound daunting the reality is most of these issues are easily solved trailside if you have the right tools and the right skills.
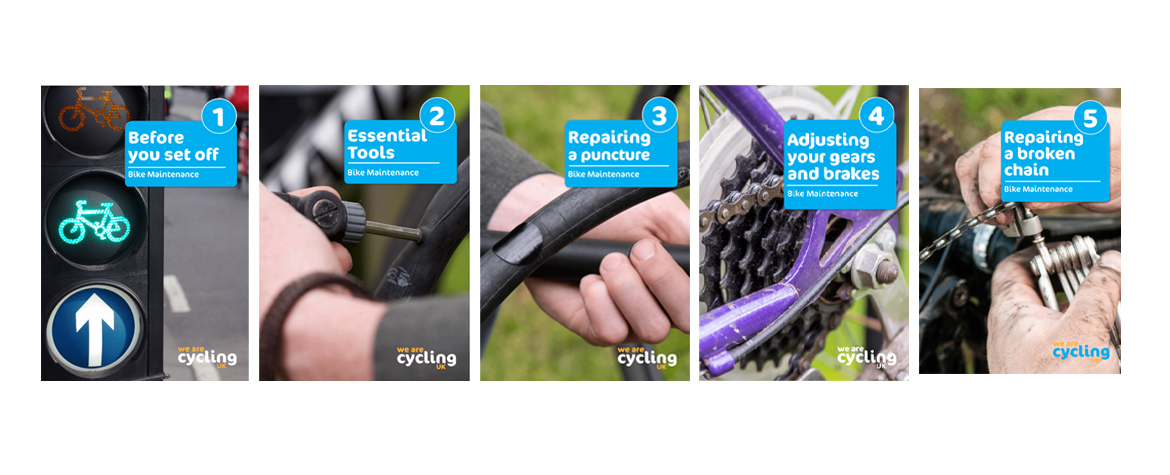
There’s not space to go into how to fix all these problems, but YouTube is a good place to look, and Cycling UK has some essential cycle maintenance tips on how to fix the most common problems you might encounter.
From confidence and bike-handling skills to resilience and self-compassion, all of these can count as ‘mental tools’
Vedangi Kulkarni, adventure-traveller and #12nightsoutin1year ambassador
Know thyself
Ever forgotten your asthma pump at home and only realised it after climbing that long steep hill in one go? Yup. I know that feeling. That’s why I count it under ‘tools’.
A basic first aid kit including kit such as plasters and bandages, butterfly strips, safety pins, blister plasters, small tweezers for removing splinters or ticks, surgical gloves, mini-emergency blanket can be enough to cover most issues.
Of course, your top can be used as a sling, if the situation arises and you don’t happen to have a triangular bandage or equivalent at your disposal.
Don’t forget to carry tissues or wipes along with your period products (tools!) as well.
Should you be worried about fixing anything else, a generous amount of duct tape can suffice.
Mental tools
From confidence and bike-handling skills to resilience and self-compassion, all of these can count as ‘mental tools’. That, along with some basic map-reading skills and presence of mind.
Knowingly or unknowingly, these are the things that you’ve picked up along the way.
Having the self-awareness to recognise your strengths and weaknesses can prove to be a valuable additional tool that can keep you safe and switched on through all of your bicycle adventures.
They can keep you going when you might have thought of quitting, while also helping you know when to stop when you really have to.
Bike-related tools
Now, we finally talk about the actual bike tools.
Lights
Let’s start with lights. Good bike lights are the one thing that I never feel bad for investing my money in. I prefer a bright blinking rear light and a really capable front light, in addition to my head light that shines from both sides when riding off road.
Multi-tool
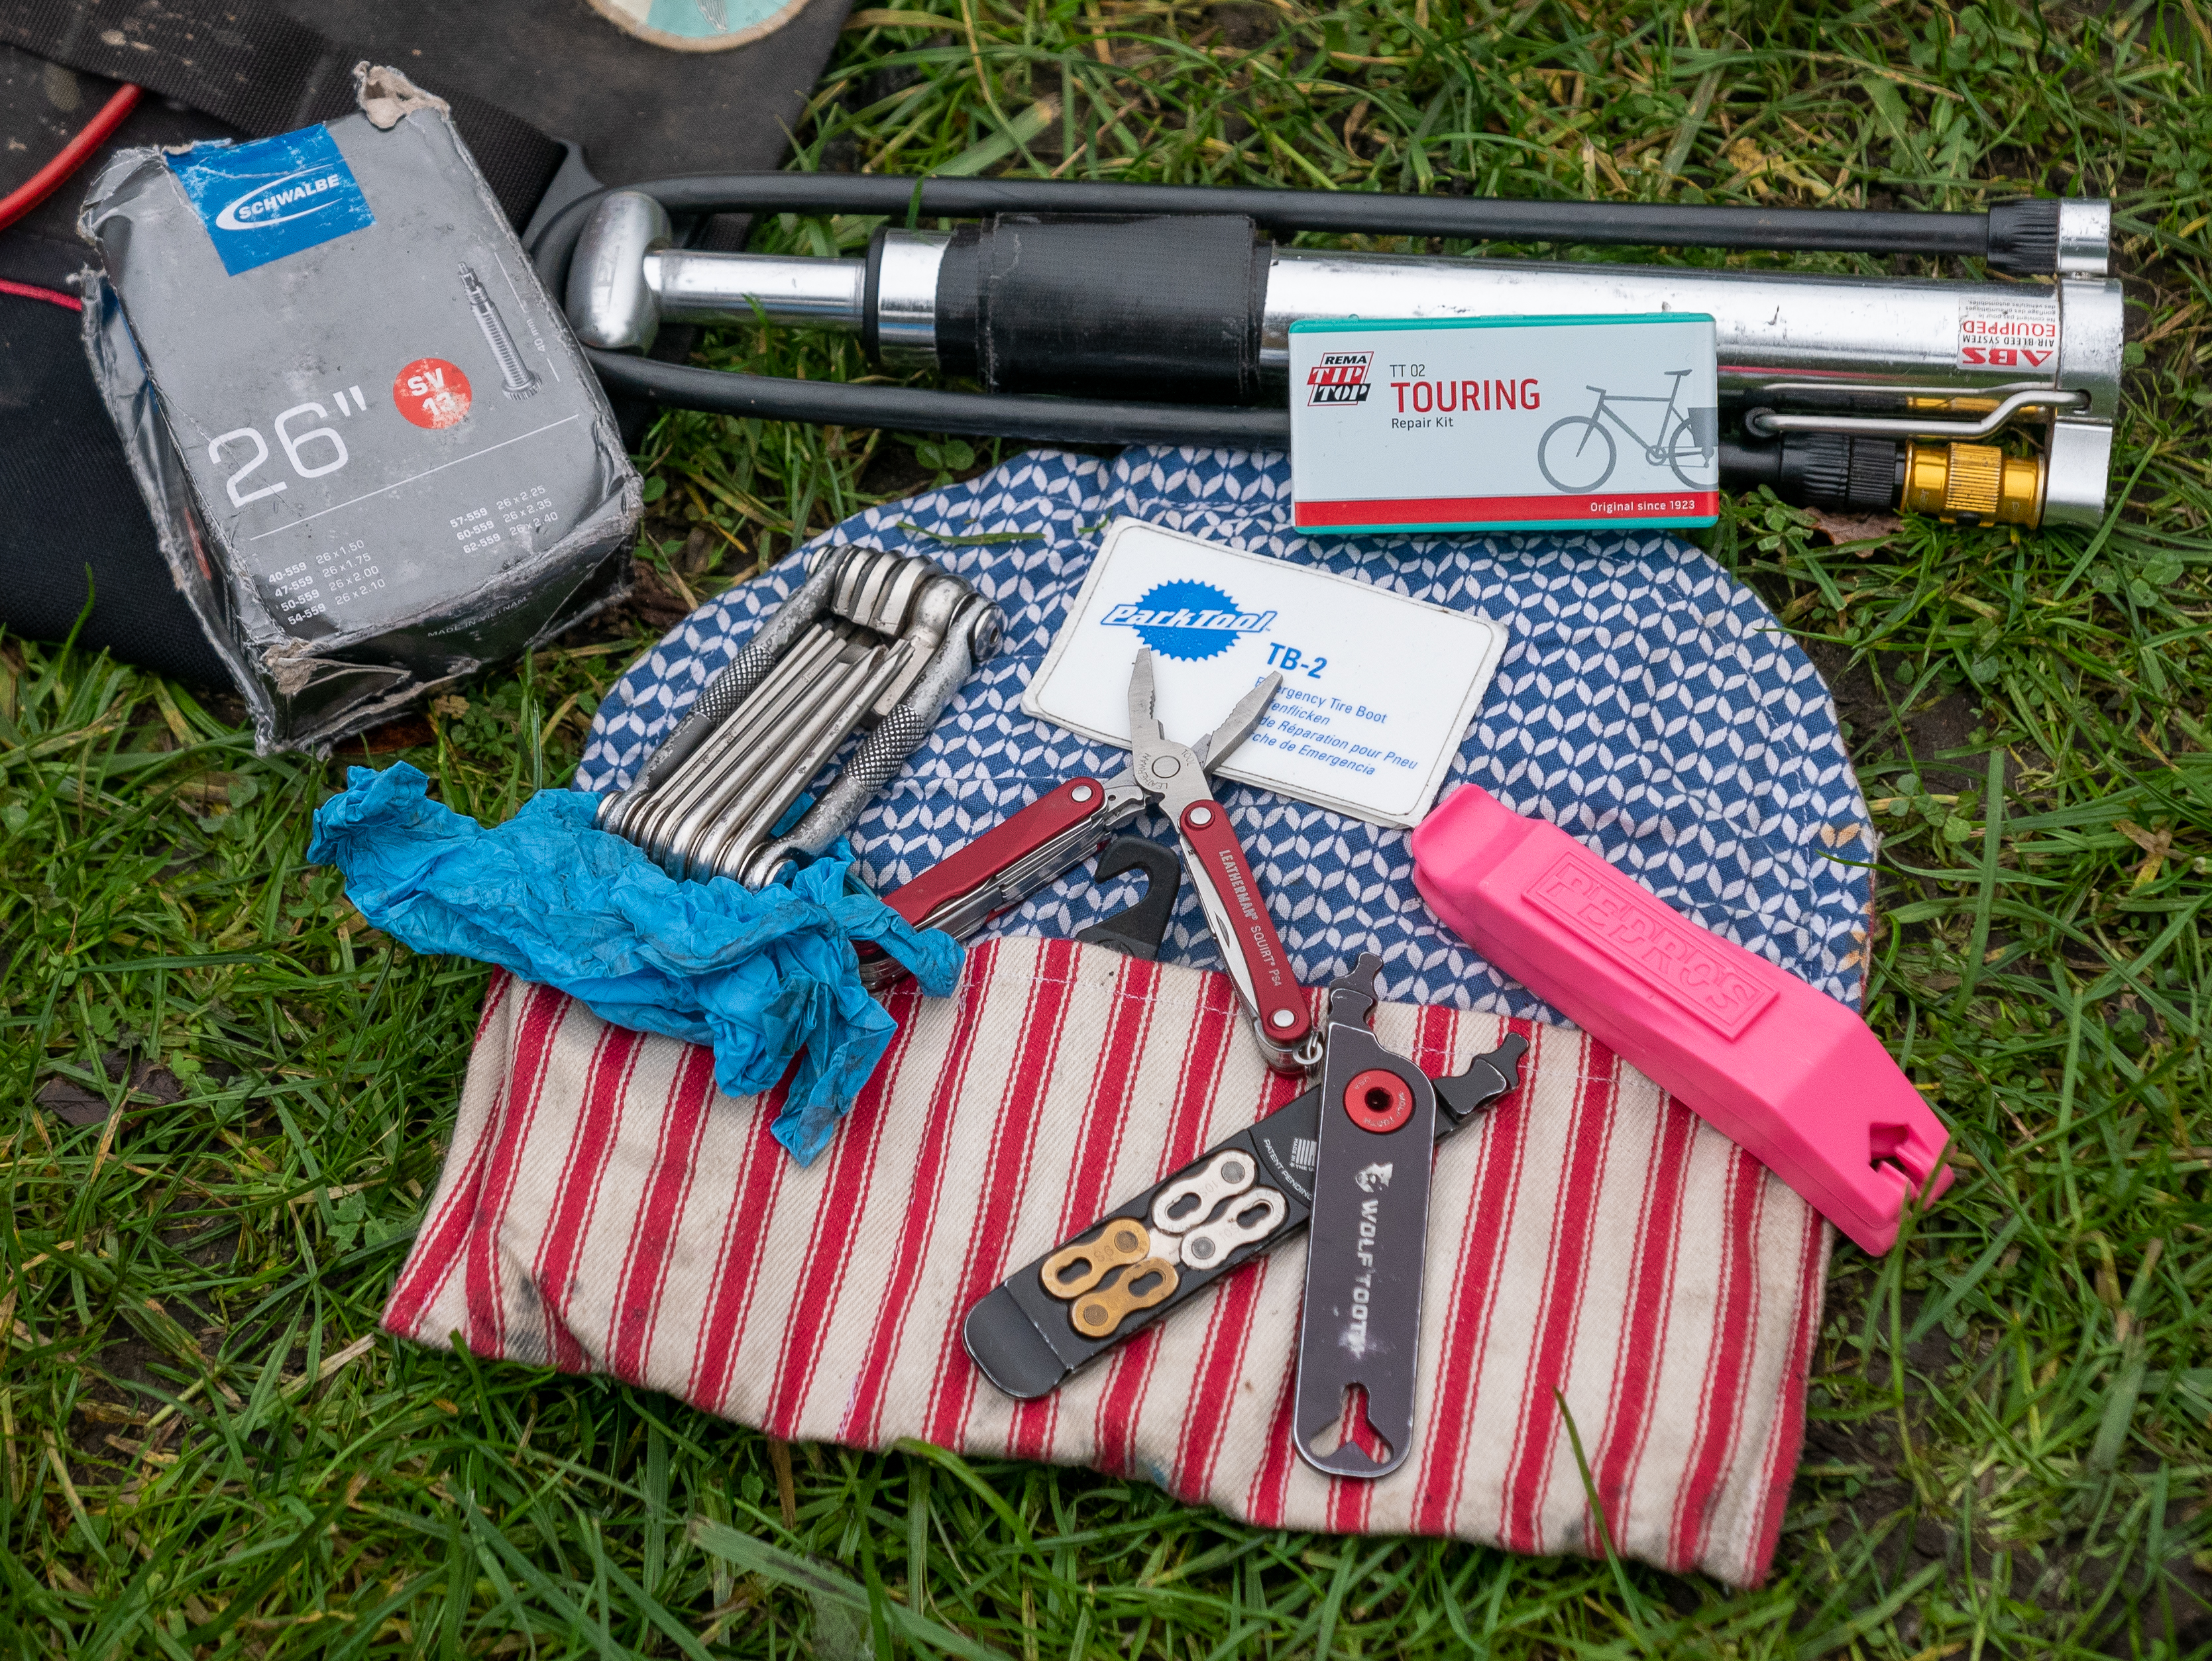
Next, multi-tool. There are many variants out there, but my preferred one is the Topeak Ratchet Rocket with chain tool and tyre levers included.
I also carry a Swiss Army penknife, mostly for cutting fruits, eating pasta or using the tweezers to remove ticks. Once or twice, the screwdriver that comes with the knife has even come in handy when I was trying to fix my broken watch.
For a long time I used to carry a separate chain tool. Nowadays I prefer using the one on the multi-tool, though, as it’s one less thing to carry!
While we’re on the topic of the chain, make sure you sneak in a few quick links into your tool kit. These useful bits of kit can save you a world of pain as they allow you to rejoin a broken chain without a fiddly chain tool.
Mildred Locke, cycling journalist and one half of Bristol-based cycling community Routing For Ya, also swears by her re-adjustable spanner. While I’ve no need for one in my toolkit, the message here is to find out what works for you and your bike, and make sure you pack it!
Puncture repair
A puncture repair kit generally includes patches, glue and sandpaper, while you will need to provide tyre boots or levers.
You can buy a tubeless puncture repair kit separately with a tubeless plug and plug tool. A good, packable hand-pump is also a worthwhile investment. After all, having the best puncture repair kit is pretty useless if you don’t have a pump to inflate your wheel!
It’s also a good idea to carry a Presta to Schrader adapter as it’ll allow you to fill air at gas stations. Trust me when I say this: if you’re tubeless, and have run out of CO2 canisters, this little trick is priceless!
GBDURO finisher and multiple times Transcontinental finisher Anisa Aubin carries two pumps: a small hand-pump and a spare that can be used as a mini-foot pump.
When it comes to pumps it’s also worth making sure you have the right one for the job. Cycling journalist Katherine Moore is a gravel cycling nerd who never leaves home without her pump. Riding off road, she mostly uses wider tyres, which means she favours a really decent, high-volume (HV) rather than high-pressure (HP) pump.
If you’re a roadie with narrower tyres, then look out for HP pumps to make sure your tyres are just right.
Bodge masters
I genuinely believe that there’s not much that you can’t fix if you have enough re-adjustable cable ties and duct tape. Cycling UK’s Sam Jones suggests wrapping several metres of tape around your hand-pump, and I’ve known others to wrap it around water bottles and other objects in their luggage.
The short of it, is that it’s infinitely useful, from making temporary fixes for gashed tyres, patching luggage to temporary bar tape in a pinch – don’t leave home without some!
Eleanor Jaskowska, a fellow bodge-just-about-anything enthusiast and the mind behind the gravel skills programme called School of Rocks, suggests carrying needle and thread in case you rip a tyre sidewall – especially useful if you’re in the back of beyond and you’re running a tubeless set up.
Bungees and the bikepacker’s staple of Voile straps are also great additions, and can do wonders beyond just lashing down extra bits of luggage.
Ultimately, the tools you take are only as good as your competence at using them – and while you can practice in real life, in the pouring rain as the wind whips around you, sometimes it’s best to familiarise yourself with at least the theory from the comfort of your home!
Over time you’ll learn what tools work best for you and your bike; the important thing is that once you’ve learned the lesson, you take it with you on your next ride!
Popular content