How to choose the right saddle

The London Bike Kitchen has just restarted its saddle library, where people can become a member and ‘check out’ saddles, much like a book library. Try a saddle before you buy it to make sure your investment is a long-term one.
In no particular order, here are some saddle tips from what we’ve learned over the years.
Saddles don’t have genders! Men’s and women’s saddles are a marketing gimmick
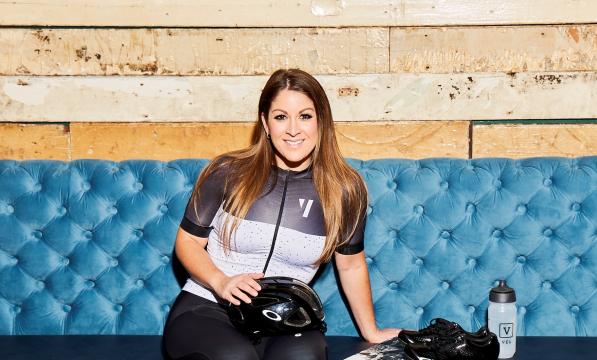
Jenni Gwiazdowski, director of London Bike Kitchen and chair of the Women of Colour Cycling Collective
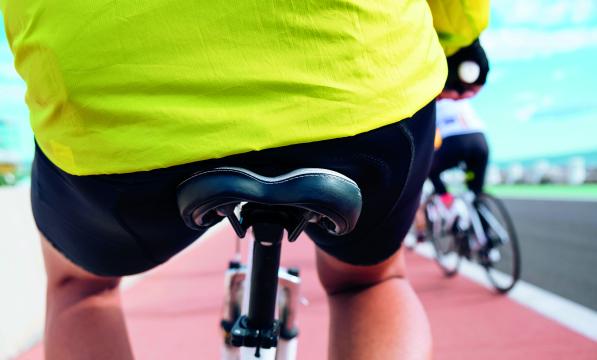
Saddles don’t have genders! Men’s and women’s saddles are a marketing gimmick. Different nether regions will have different needs, but are often solved by the same feature, such as a cut-out or a flatter shape. Don’t believe the hype.
Get to know your body: is your vulva an innie or an outie? When you squat down, does your vulva stick out? Outies will likely need a channel or a cut-out for their soft tissue, but even these vary depending on your body. Similarly, perineal discomfort can also be solved by a channel or cut-out.
Sit bone widths vary across genders – it’s not wide for women and narrow for men. From all the bottoms I’ve measured, most people are between 90mm and 120mm.
Your sit bone width changes with different riding positions. In an upright ‘sit up and beg’ position you will be at your widest, requiring a wide saddle. As you reach forward, the position of your pelvis changes – this means you’ll need a differently shaped saddle. Sit bone width isn’t the sole indicator of saddle size, as this is typically taken from an upright position. Next time you sit on your saddle, think about where you’re feeling the most pressure.
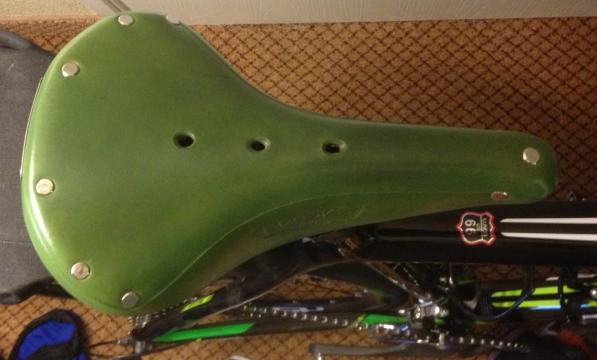
People with a high amount of lower back flexibility (sometimes resulting in a back that is fairly flat when reaching for bars – but not always) will usually benefit from a flatter saddle shape (see: Prologo Dimension or Proxim). Those with low amounts of flexibility (sometimes resulting in a back that is arched down – but again not always) will usually benefit from a more traditionally curved saddle shape (a vintage Rolls or a Charge Spoon).
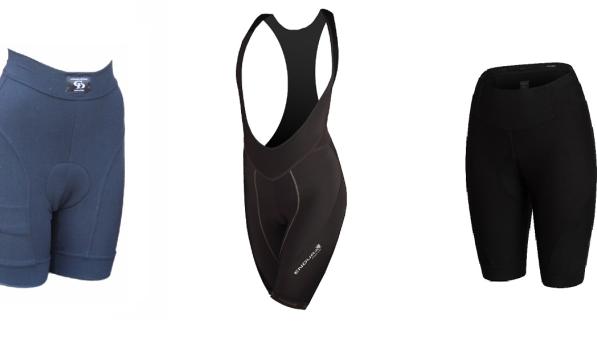
A saddle won’t solve everything. Road saddles don’t have much padding as they are usually designed to be used with padded shorts. Our bodies change over time, and you may find that you won’t be able to cycle without padded shorts or chamois cream. There is no shame in this. Use the right tools for the right job.
If you’re getting saddle sores, try a good chamois cream to reduce friction, like Happy Bottom Bum Butter – it’s vegan, all natural and doesn’t have any silicones in it. Silicones and petroleum/paraffin can prevent your skin from breathing and cause irritation.
Don’t be tempted to wear underpants – nothing should come between you and your pad! Undies can introduce friction and we don’t want that.
With cycling pads, you usually get what you pay for. Make an investment. Good-quality shorts will last for years if washed with care. I use soapnuts to wash my technical kit, but there are gentle sports-friendly washes. No fabric softener! I dry my shorts outside (in the sun if possible), and in winter I use a dehumidifier – a game changer for drying: no more mouldy smells.
Make sure your shorts are a snug fit – you don’t want that pad moving around causing unnecessary friction. LBK has just added a Velocio bib short library for people to try on shorts for size (but not to take home and test!).

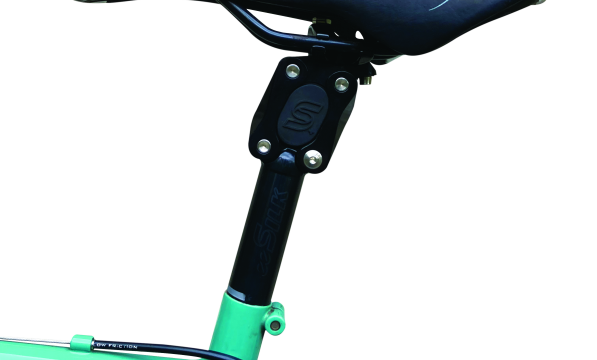
Some people change their pedals from clipless to flats on the same bike. If so, you may need to adjust your saddle height. Cleats and clipless pedals add stack height (effectively lengthening your leg), meaning your seat post will usually need to come up about 1mm.
When experimenting with saddle position, start with your saddle in the middle of the rails, and level at 0 degrees (use the digital level on your phone if you don't have a spirit level). Since a lot of saddles are curved, use the middle third of your saddle for measurement. There are three planes to adjust: up/down, fore/aft, and angle. Make adjustments in very small increments of 1mm or 1 degree. Sometimes that’s all it takes.
With saddle height, while hip height is a good place to start for roadies, this is not always the case. I usually recommend starting a bit lower for city cycling, as you’ll be stopping and starting a lot, and will want (or need) to put your foot down quickly.
You do want a slight bend in your knee when your crank is at the 6 o’clock position. Get a friend to check you out or film yourself while cycling. If your saddle is too high, your hips will seesaw side to side and cause unnecessary friction (among other issues).
The best saddle is the one you don’t think about. But remember, you are meant to move around on your saddle and handlebars, you’re not going to be stationary the entire time. Moving can help relieve pressure. But if it’s uncomfortable or unbearable, consider getting a professional bike fit. Much like life, everything is connected between your body and your bike, and small adjustments in one area can affect your body elsewhere.
